
Teensy tutorial : digitalWrite function
Teensy tutorial : set digital GPIO as an output using digitalWrite function

Teensy 3.1 has 34 digital I/O"share some pins
with analog I/O" , in this tutorial I will show you how to control digital pins as an output using digitalWrite command.
first you need to set the pin as an OUTPUT using :
pinMode(pin,State);
pin:any pin (0 - 33).
state:OUTPUT or INPUT
to set any digital Pin as HIGH or LOW :
digitalWrite(pin,state);
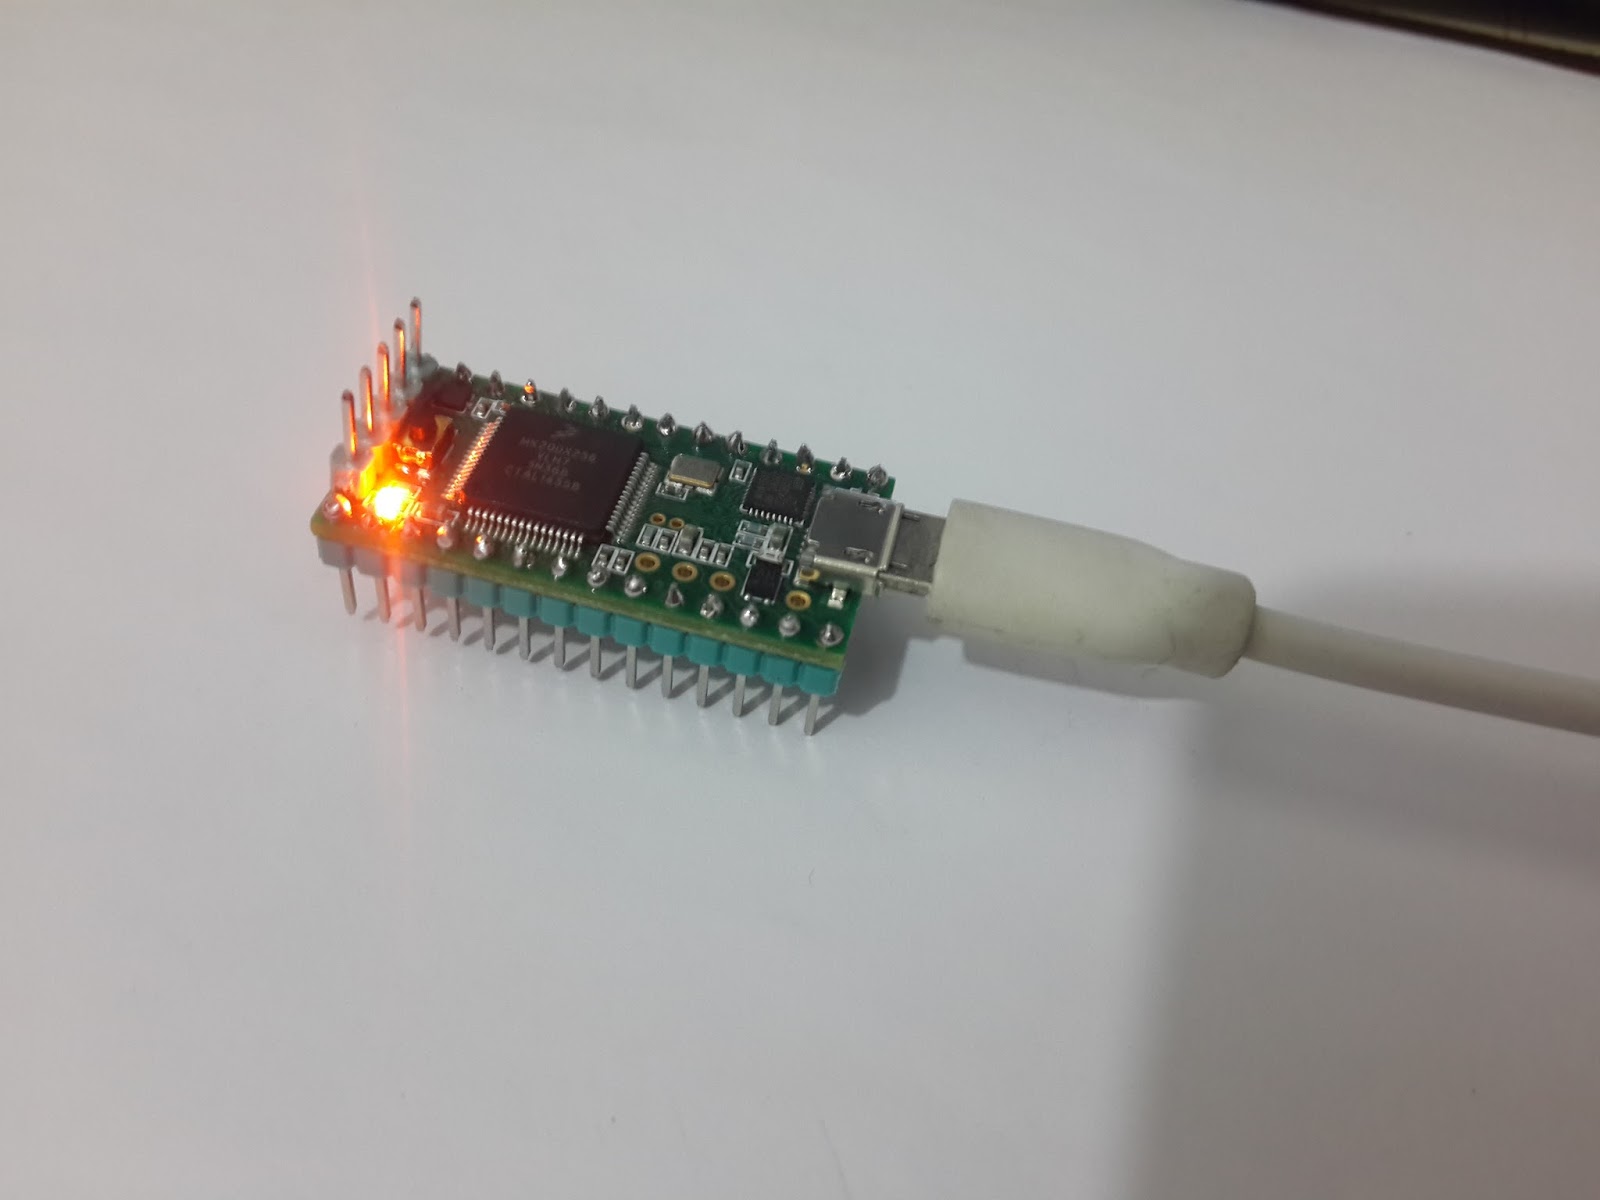
this is a simple code to blink the on board LED , the LED attached to pin # 13
/*
  Blink
  Turns on an LED on for one second, then off for one second, repeatedly.

  This example code is in the public domain.
 */

// Pin 13 has an LED connected on most Arduino boards.
// Pin 11 has the LED on Teensy 2.0
// Pin 6  has the LED on Teensy++ 2.0
// Pin 13 has the LED on Teensy 3.0
// give it a name:
int led = 13;

// the setup routine runs once when you press reset:
void setup() {
  // initialize the digital pin as an output.
  pinMode(led, OUTPUT);
}

// the loop routine runs over and over again forever:
void loop() {
  digitalWrite(led, HIGH);   // turn the LED on (HIGH is the voltage level)
  delay(1000);               // wait for a second
  digitalWrite(led, LOW);    // turn the LED off by making the voltage LOW
  delay(1000);               // wait for a second
}

for more advance application , let's try a knight rider circuit application
Schematic :

Code:
download the code from HERE


Post a Comment